How to Add an AI Chatbot to Your Articulate Storyline Course
By Mark Diaz |
What You Actually Need
Before you start, here is what you need to have ready.
Your published Storyline course as a ZIP file. This is the same file you would normally upload to your LMS. You do not need the .story source file.
An API key from your AI provider. eLXsyr supports OpenAI, Anthropic, DeepSeek, and OpenRouter. Your API key stays in your hands. eLXsyr uses a Bring Your Own Key model, which means you control the costs and the data.
The content you want the bot to answer from. This can be a Word document, a PDF, or text you write directly inside eLXsyr's Knowledge Base Builder.
That is it. No developer. No LMS changes. No new authoring tool.
How the Bot Gets Into the Course
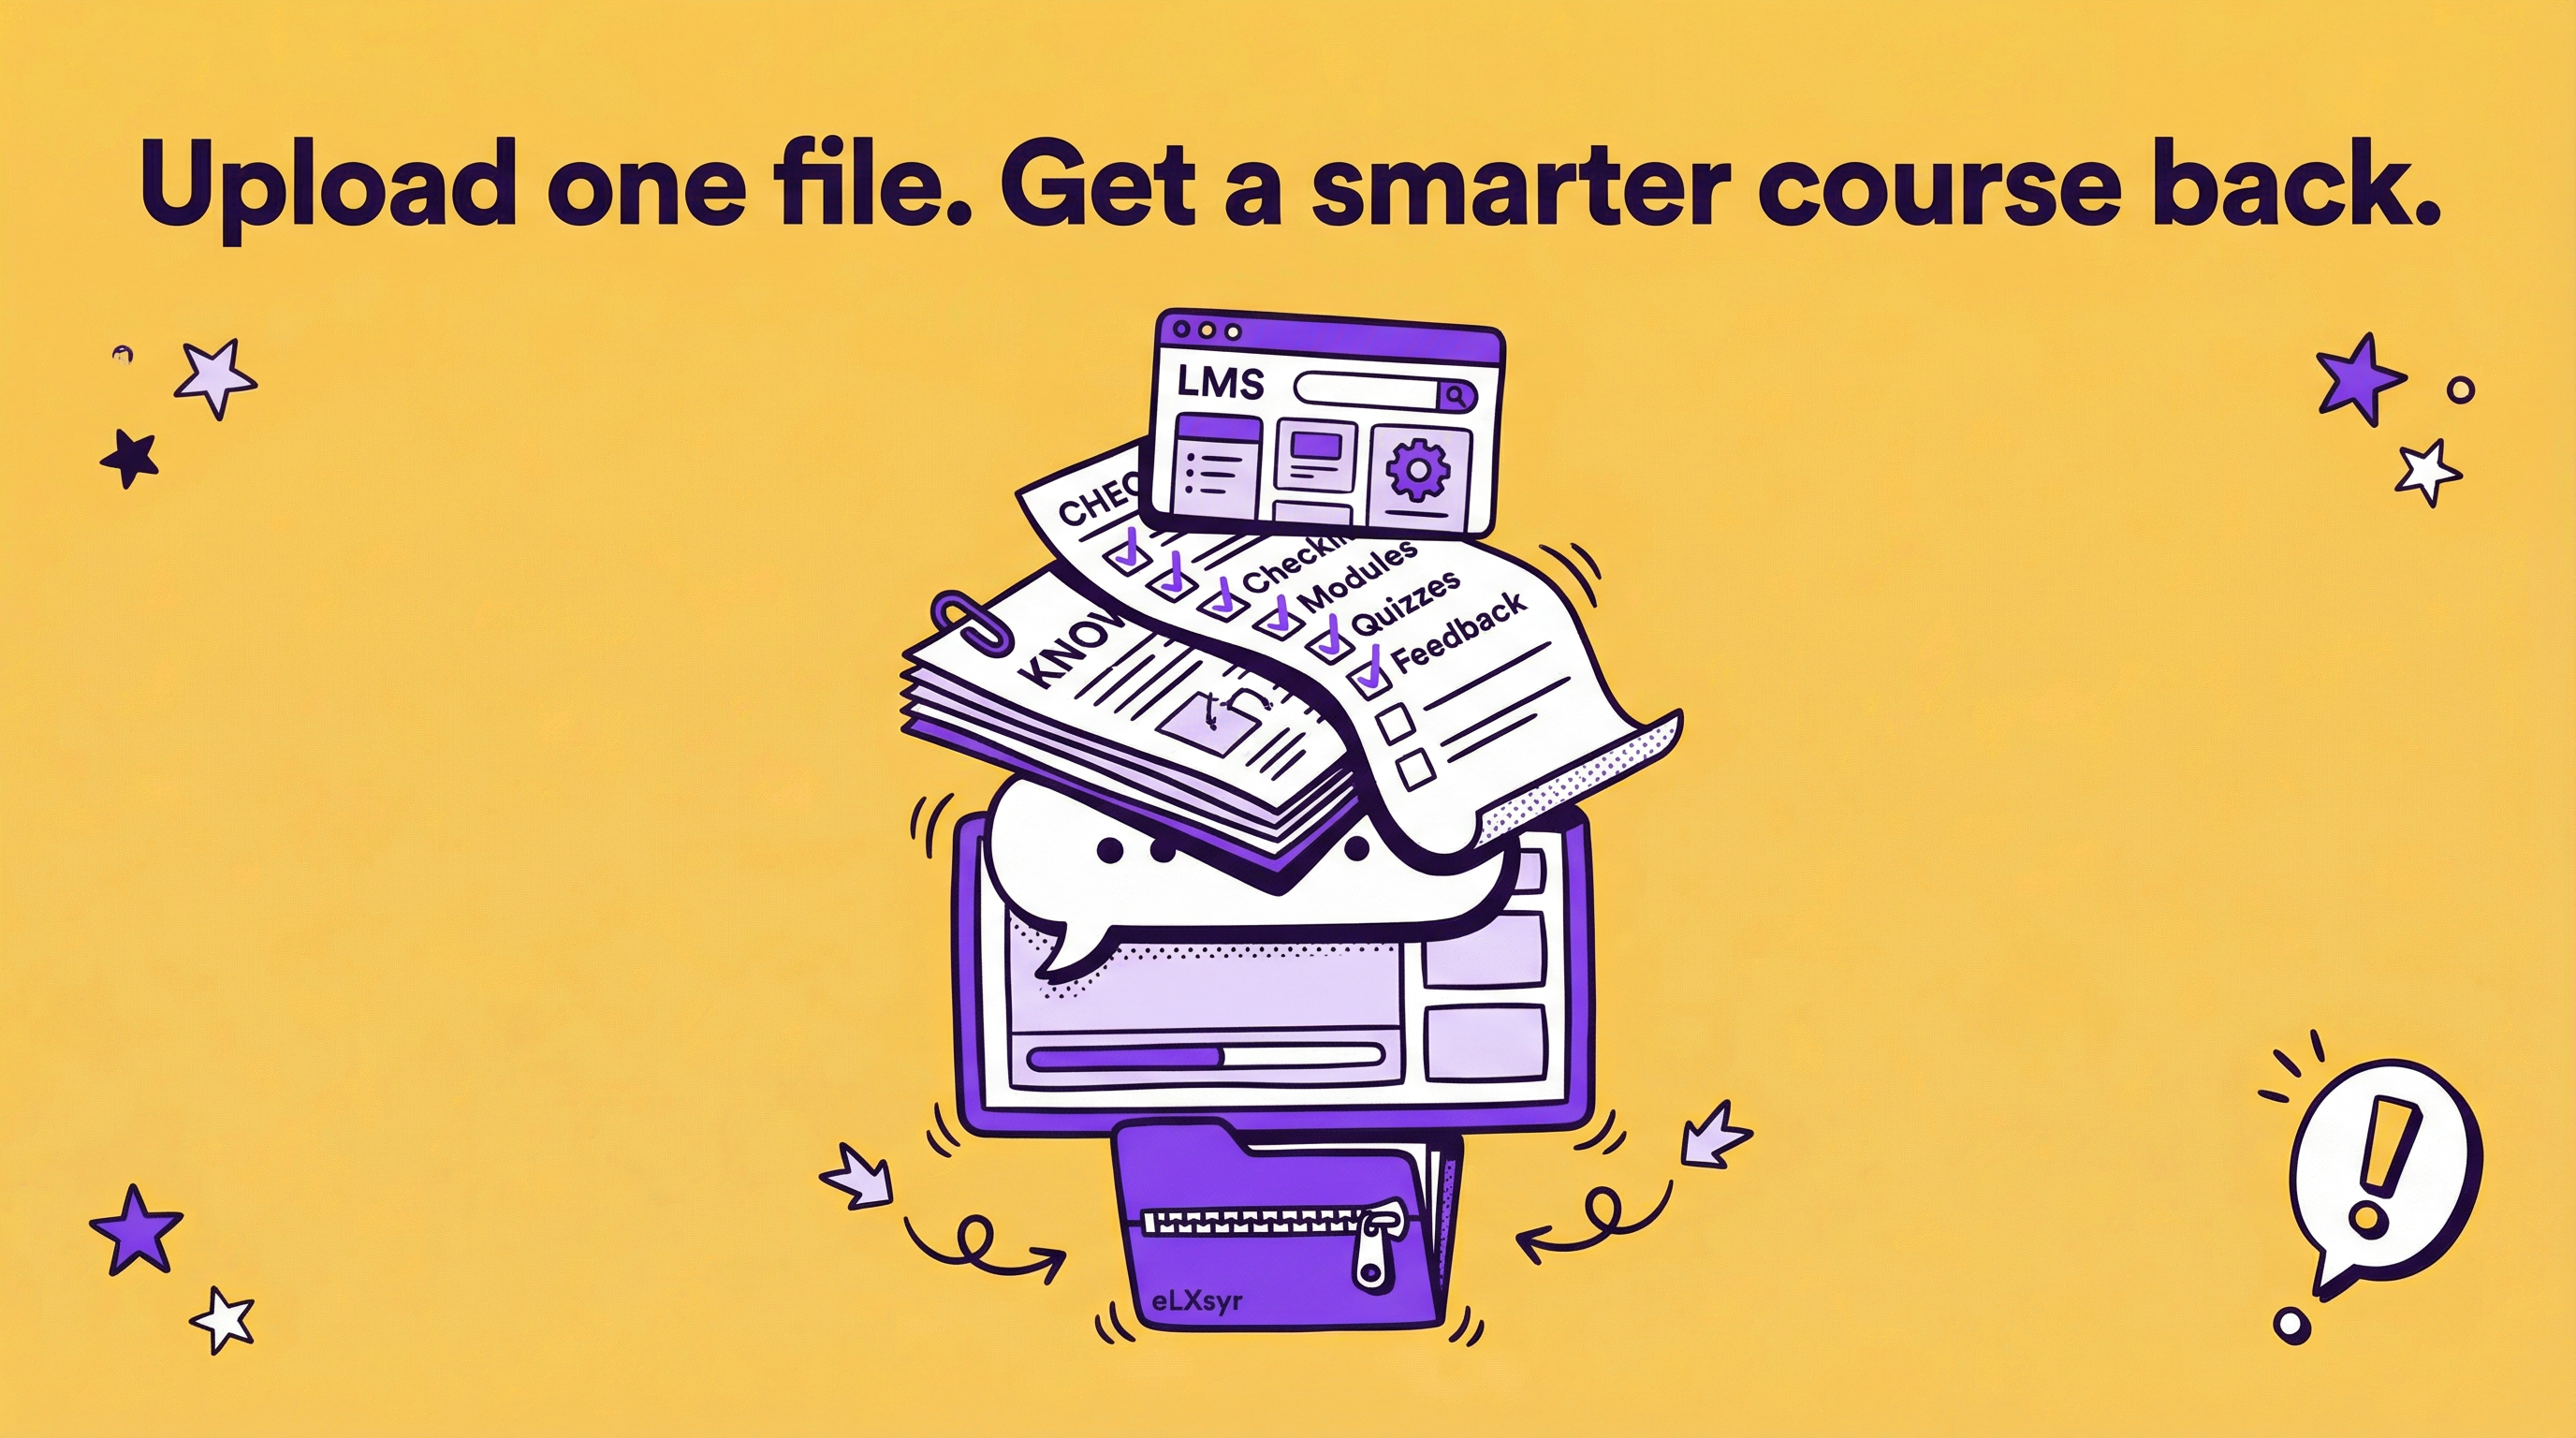
When you publish a Storyline course, the output is a ZIP file containing HTML, JavaScript, and your course assets. eLXsyr opens that ZIP, adds a chatbot widget to it, and gives you a new ZIP back. The bot appears as a floating icon inside the course. Learners click it to ask questions.
The rest of the course is untouched. Navigation, slides, interactions, SCORM tracking — all of it works exactly as before. You upload the new ZIP to your LMS instead of the original one.
Step by Step
Step 1: Export your Storyline course as a ZIP
If you have not published your course yet, publish it now.
- Open your project in Storyline 360.
- Click Publish on the Home tab.
- Choose Web or your LMS format (SCORM 1.2, SCORM 2004, or xAPI).
- Click Publish and locate the ZIP file on your computer.
If you have already uploaded the course to your LMS, republish from Storyline. eLXsyr only needs the published output, not the source file.
Step 2: Upload the ZIP to eLXsyr
- Log in to your eLXsyr account at elxsyr.com.
- Click Learning Assistant in the left menu.
- Click + New Learning Assistant.
- Give your project a name and select Storyline as the course type.
- Upload your ZIP file.
Step 3: Set up the bot
This is where you configure how the bot behaves.
Choose your intelligence type. You have two options.
AI Powered uses natural language processing. Learners can ask questions in their own words and the bot understands them. This is the recommended option for most courses. You will need your API key for this.
Keyword Matching returns preset responses when a learner types a matching word or phrase. No API key needed. Good for simple reference content.
Enter your API key. If you chose AI Powered, paste in your API key and select your preferred AI model.
Name the bot and set a role. Give the bot a name your learners will recognize. Choose a role from the dropdown — Expert Tutor, Friendly Guide, Motivational Coach, or Subject Matter Expert.
Set the prompt. The prompt is the instruction you give the bot about how to behave. You can write your own, use a template, or use eLXsyr's Prompt Builder to generate one through a guided form. If you are not sure where to start, the Prompt Builder is the easiest option.
Write a welcome message. This is the first thing learners see when they open the bot. Keep it short and friendly.
Step 4: Build the knowledge base
The knowledge base is what the bot draws from when answering questions. If the information is not in the knowledge base, the bot will not guess. It will tell the learner it cannot find an answer in the course materials and direct them to the right support.
You have two options for building the knowledge base.
Select existing documents from your eLXsyr library if you have already uploaded content.
Create a new knowledge document using the built-in editor. Write or paste in the content you want the bot to use — course summaries, policy documents, SOPs, FAQs, or any reference material relevant to the course.
The more complete and specific your knowledge base is, the better the bot performs. A thin knowledge base produces vague answers. A well-organized one produces answers that feel like they came from someone who actually knows the course.
Step 5: Test the bot
Before you publish, test the bot inside eLXsyr.
- Type a question a learner might ask.
- Review the response for accuracy and tone.
- Test several different questions, including ones that are vague or off-topic.
- If the responses are not right, adjust your prompt or update your knowledge base.
Do not skip this step. Each time you build a bot, one credit is used. Credits are not refunded. Testing before you build saves you from having to rebuild.
Step 6: Build and download the new ZIP
- Click Insert Bot and Build ZIP.
- Wait for eLXsyr to package the course. This usually takes a minute or two.
- Download the new ZIP file.
- Upload it to your LMS exactly as you would a regular Storyline course.
The bot is now live inside your course.
Common Questions
Do I need the original .story file?
No. eLXsyr works with the published ZIP only.
Will this break my SCORM tracking?
No. eLXsyr adds the bot without changing how your course communicates with the LMS. Completion, score, and bookmark data continue to work as normal.
What if my ZIP is larger than 100MB?
eLXsyr supports ZIP files up to 100MB. Most Storyline exports fall within this limit. If your course is larger, try reducing the size of your media assets before exporting.
Can learners use the bot on mobile?
Yes. The bot widget is responsive and works on desktop and mobile devices.
What happens if the bot cannot answer a question?
The bot will tell the learner it cannot find an answer in the course materials. You can configure a custom escalation message that directs learners to a specific person or team for further help.
Do learners need an internet connection?
For AI Powered mode, yes. Also, AI use needs to be allowed by your company. For Keyword Matching mode, the bot works offline.
What Learners See
Learners see a small floating icon in the corner of the course. When they click it, a chat panel opens. They type a question and the bot responds. The course continues playing normally in the background. Learners can close the chat at any time.
The bot does not interrupt the course flow. It sits alongside the course and answers questions when learners need it.
Ready to Try It?
Sign up at elxsyr.com and upload your first Storyline course.